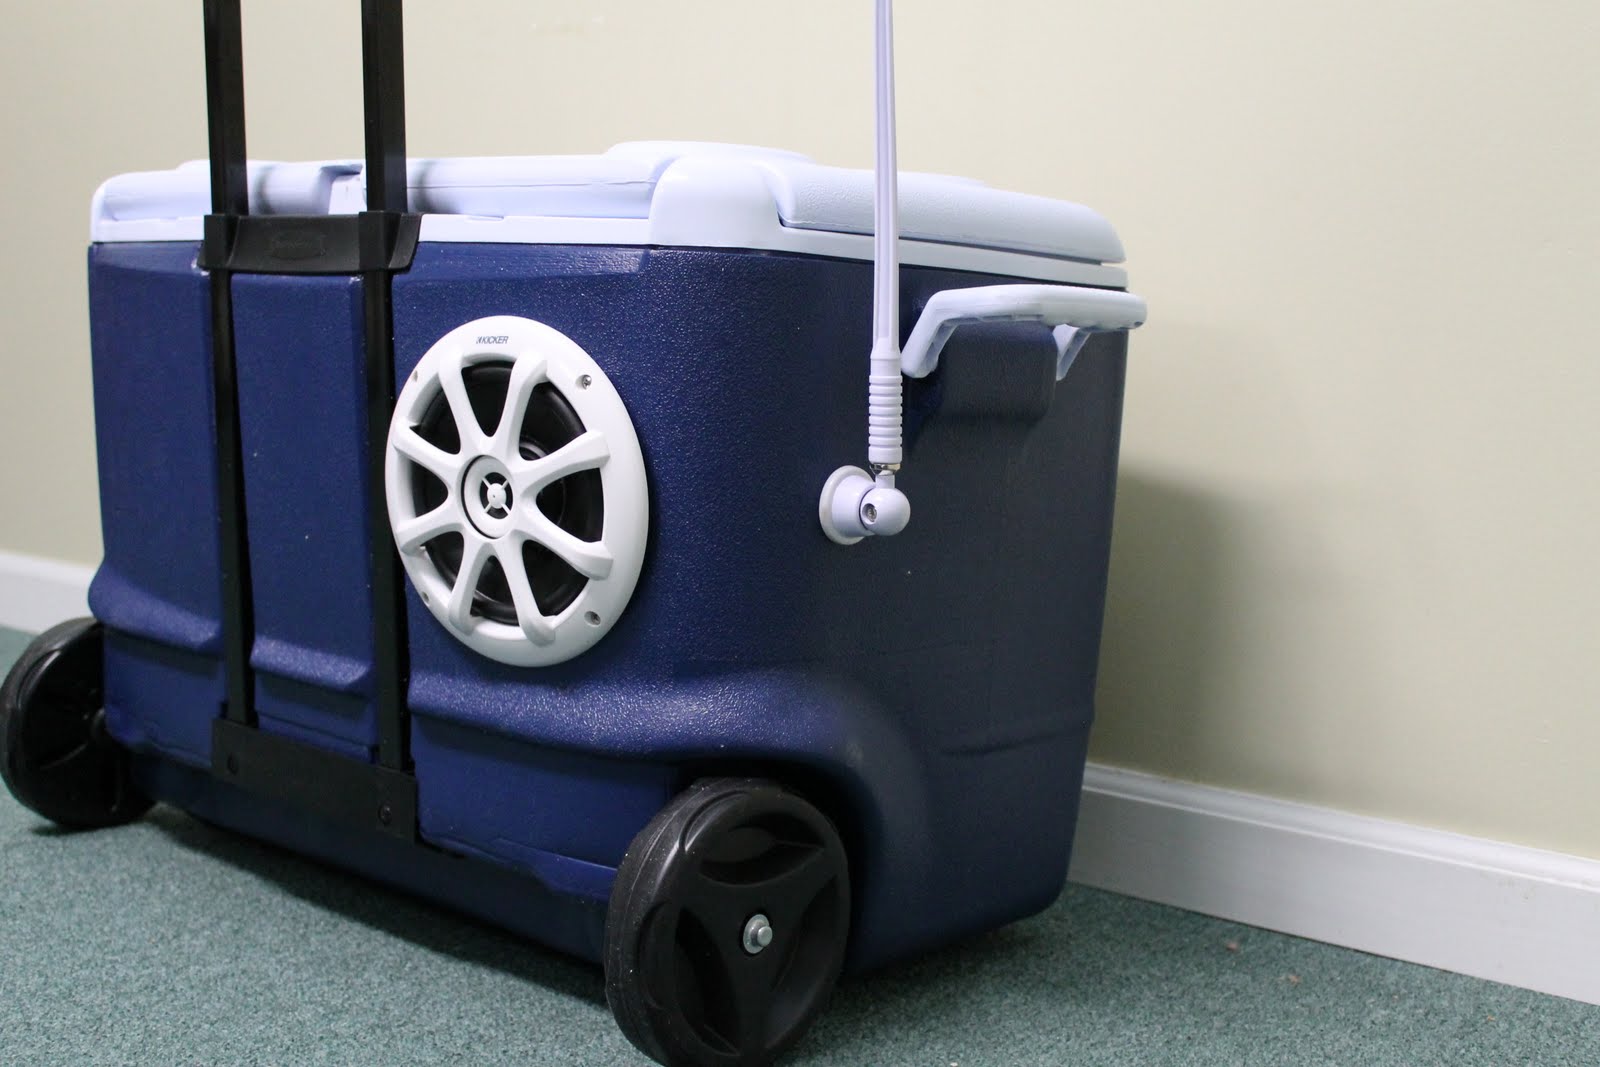
The Finished Product!
My Custom Cooler Radio Build


Next up is a Video!
http://mycustomcoolerradio.blogspot.com
 |
| Sealants I used |
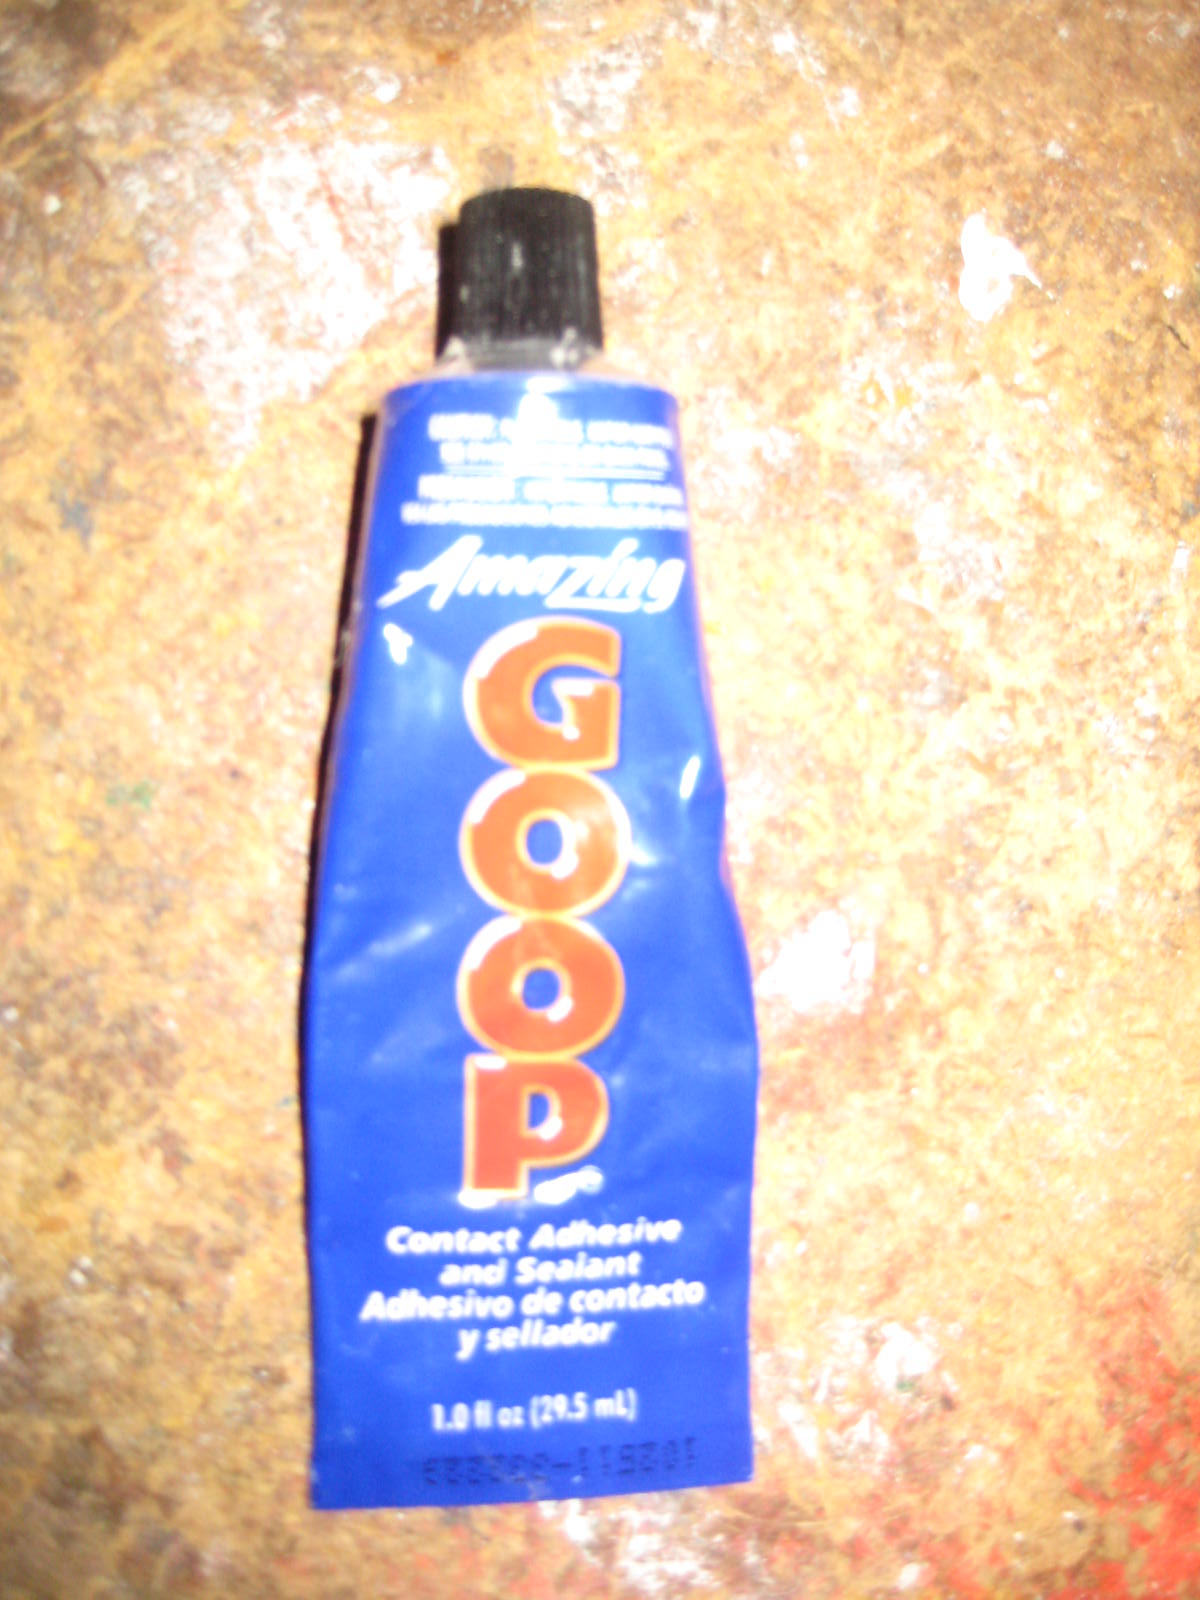 |
| Glue and Sealant |
 |
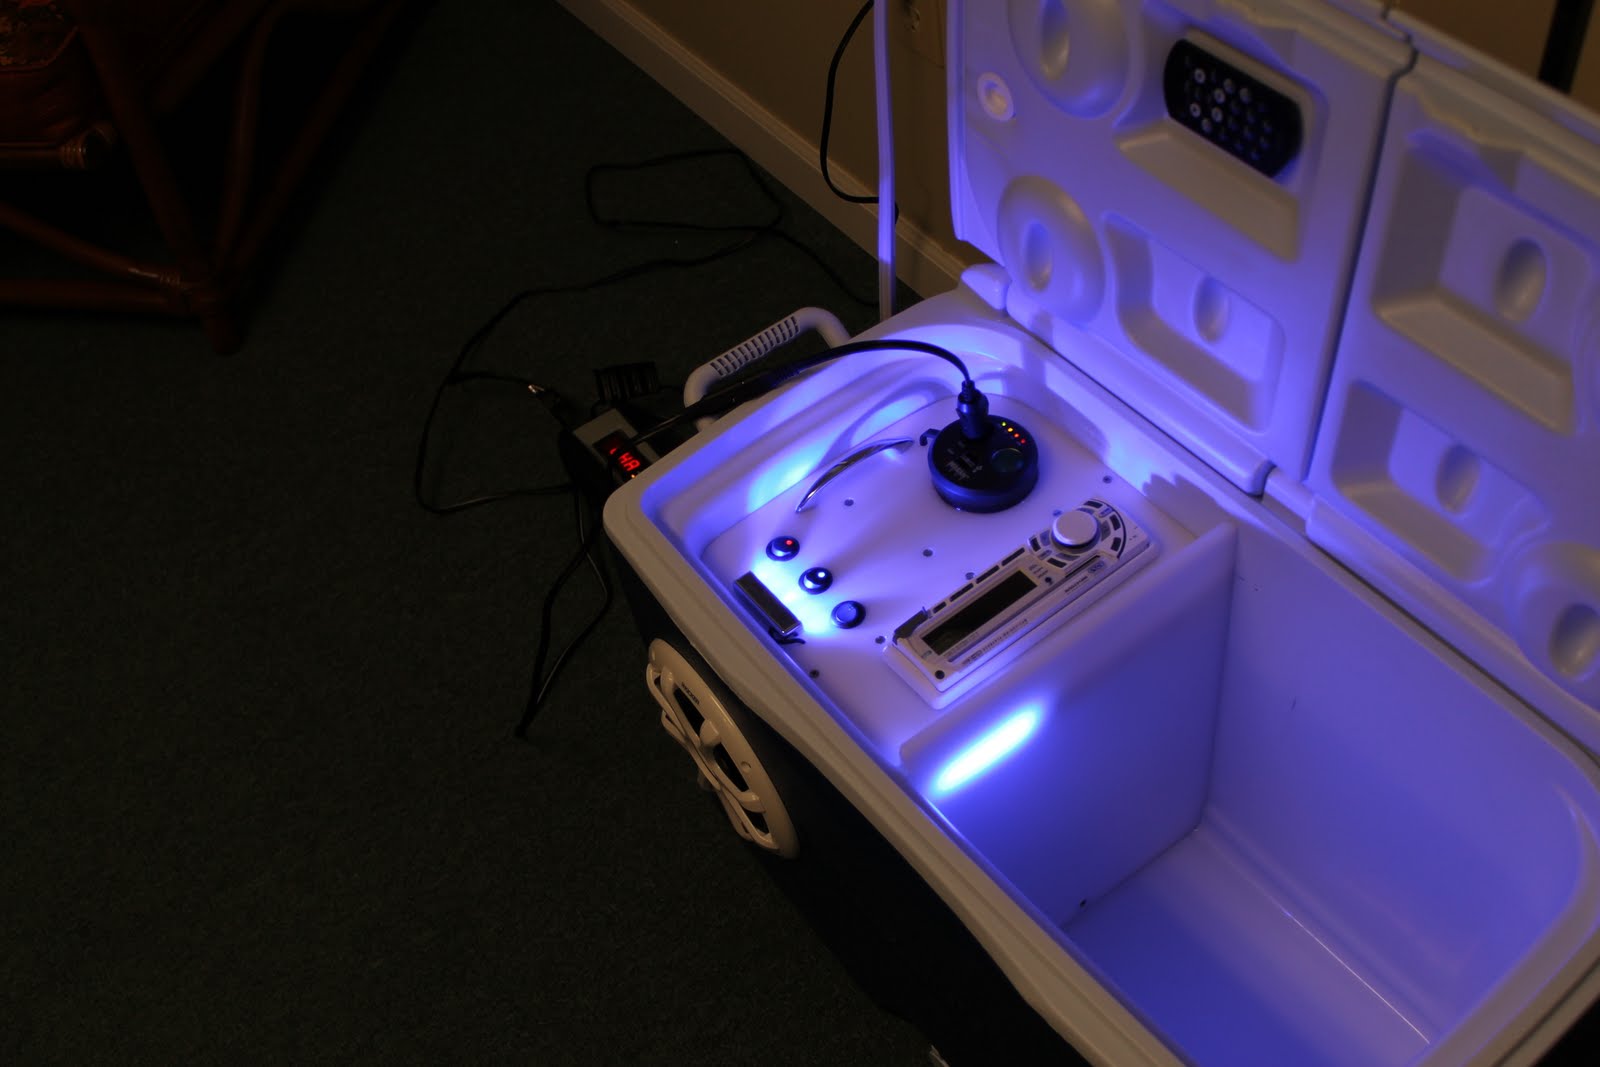
| Stereo Head Unit - BOSS MR1470UW |


 |
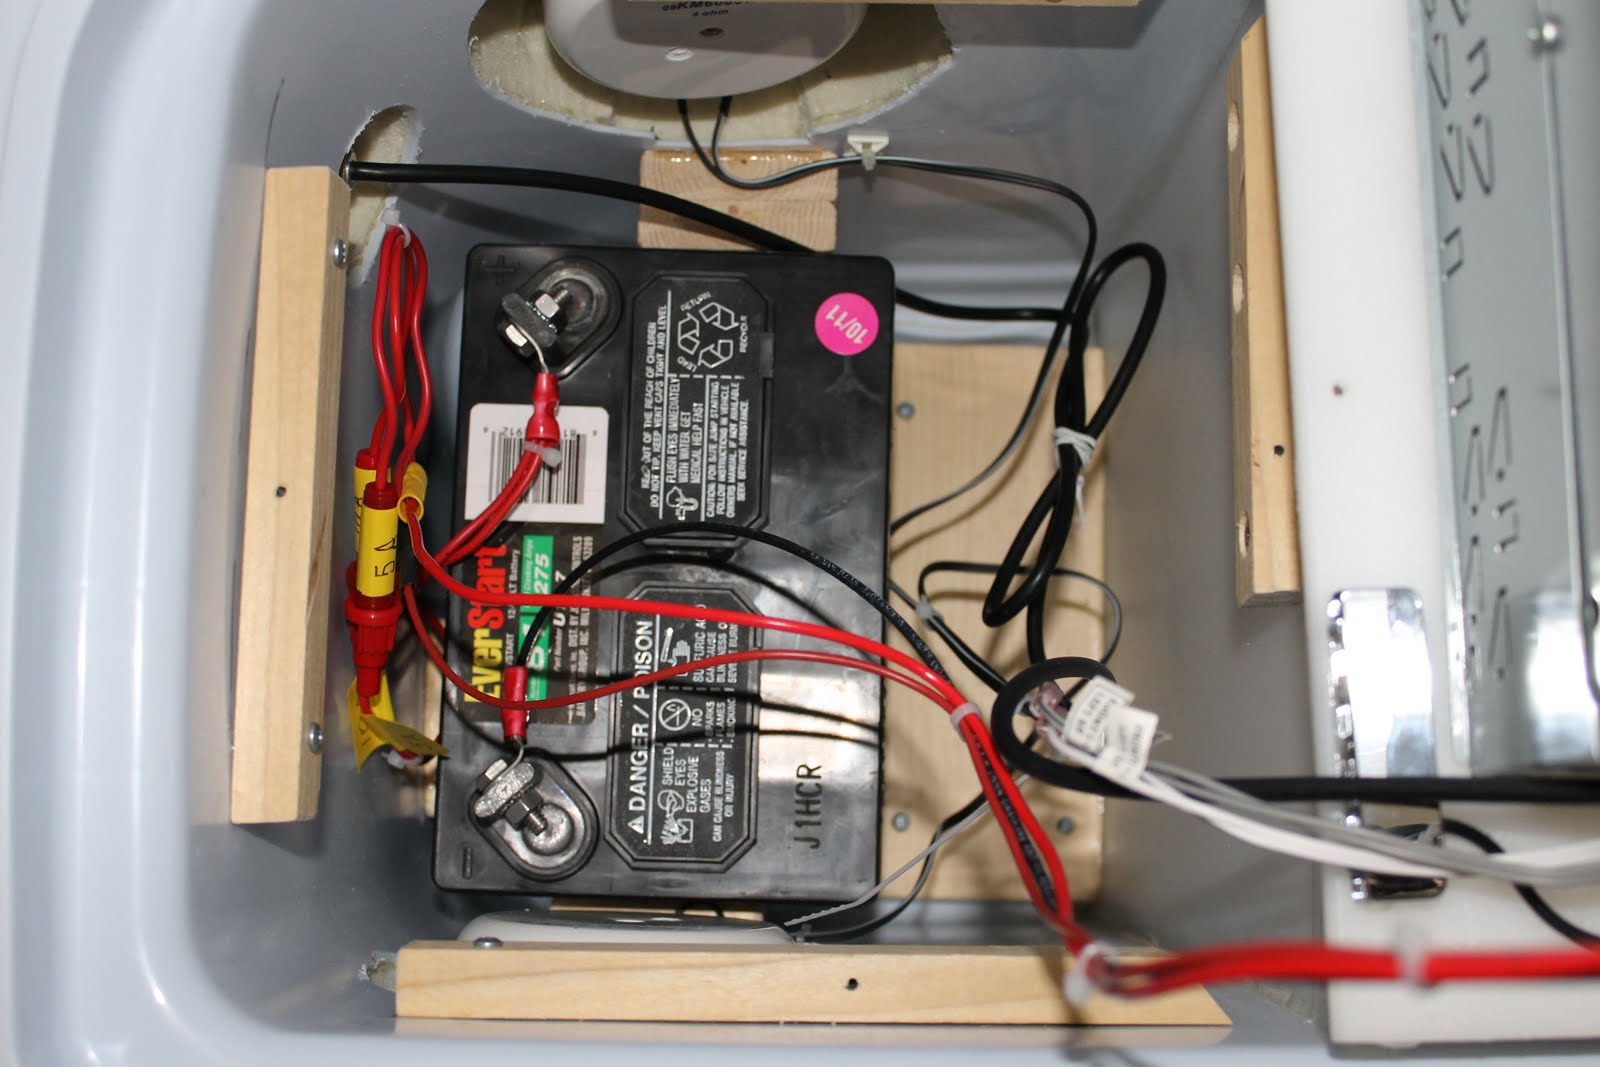
| Fuses Used |
 |
| Speakers - Kicker KM6000w |
 |
| Velcro Tape |


 |
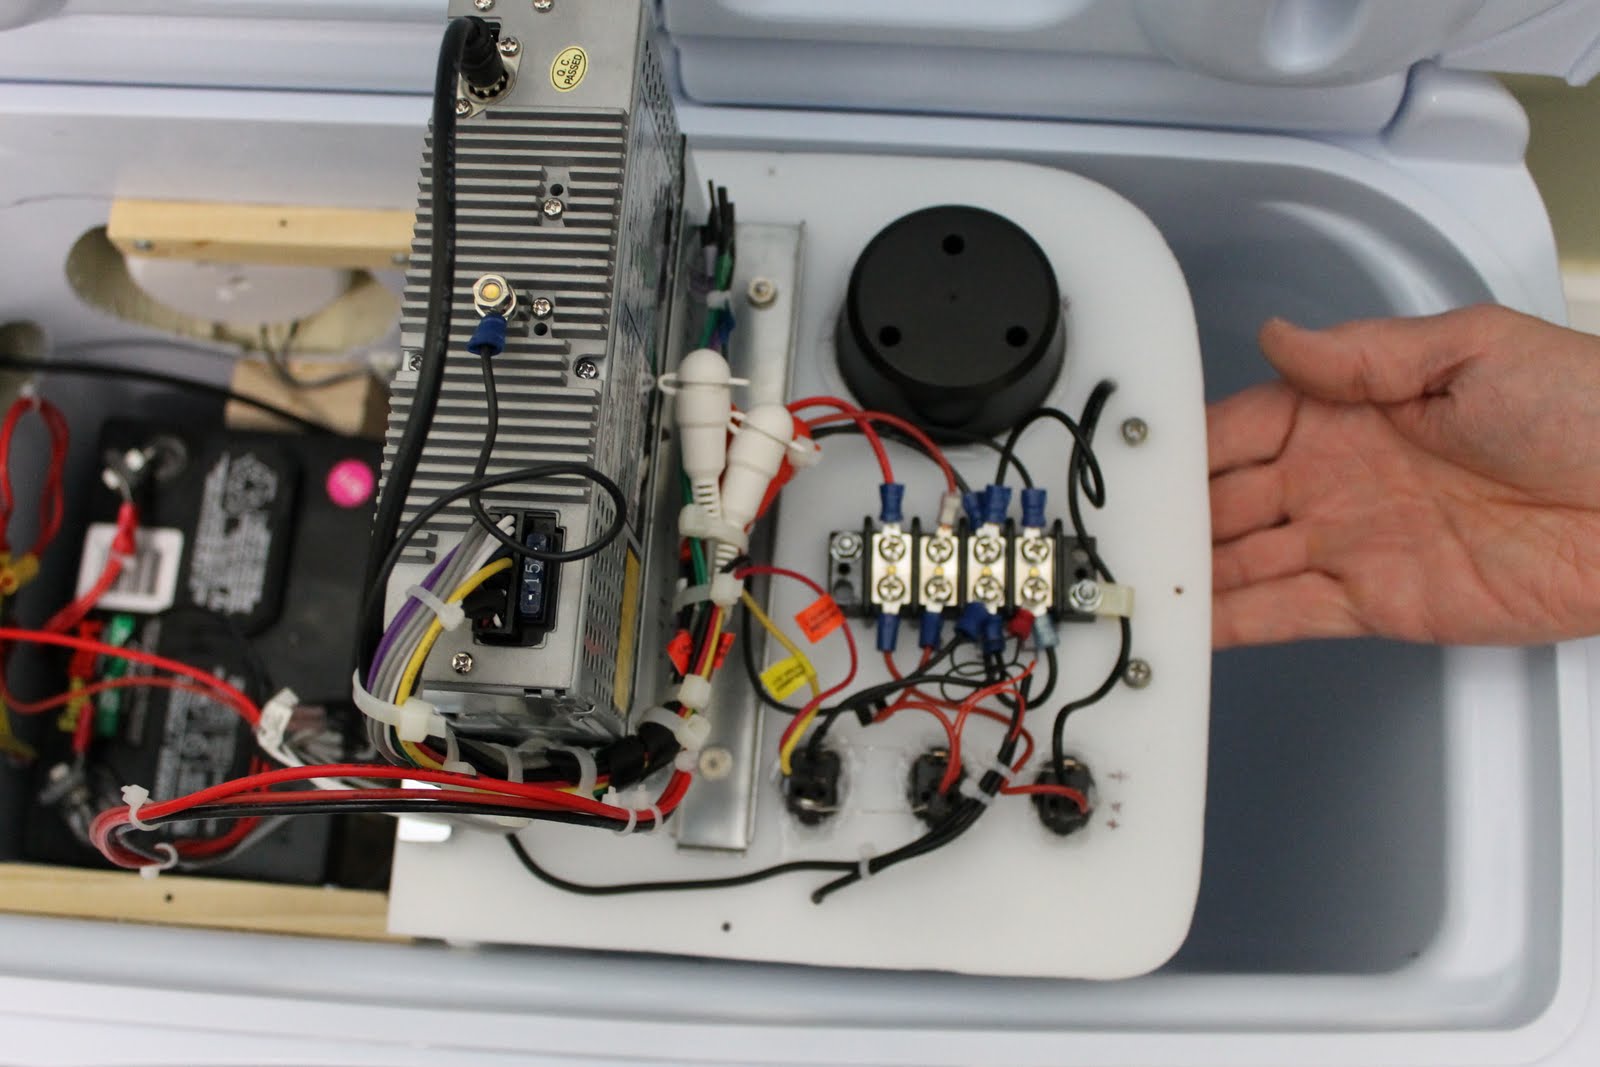
| Fig 1 |
 |
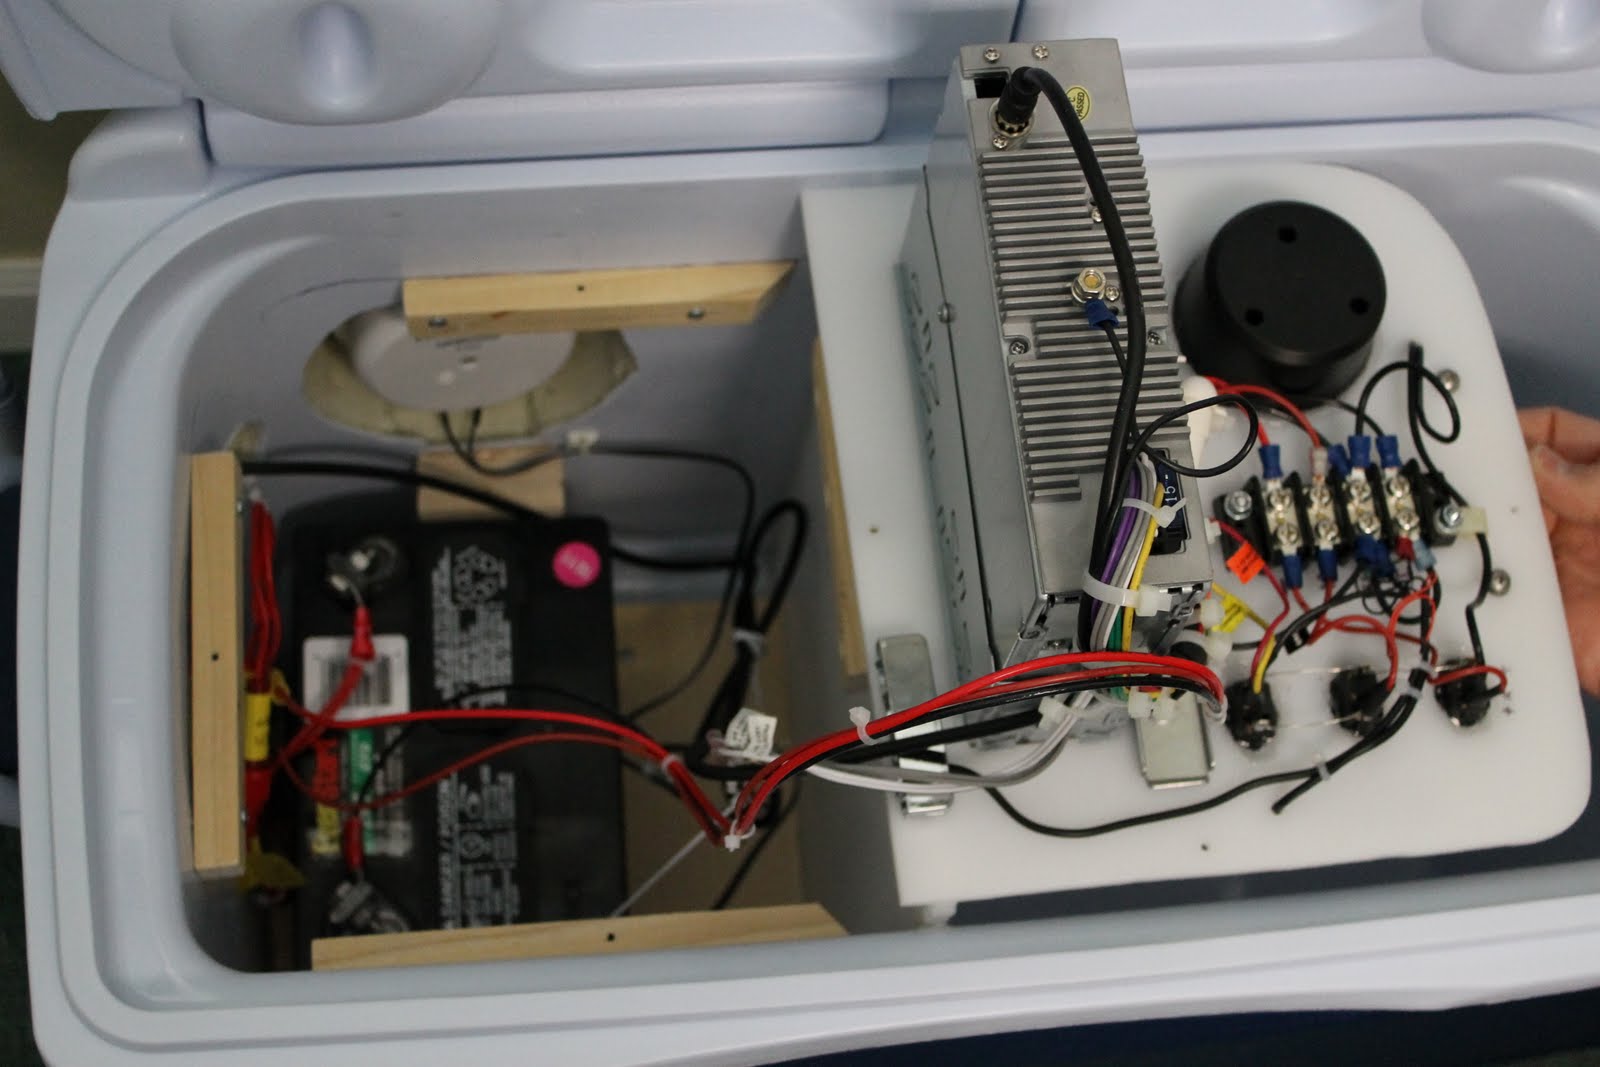
| Fig 2 |
 ! ! |
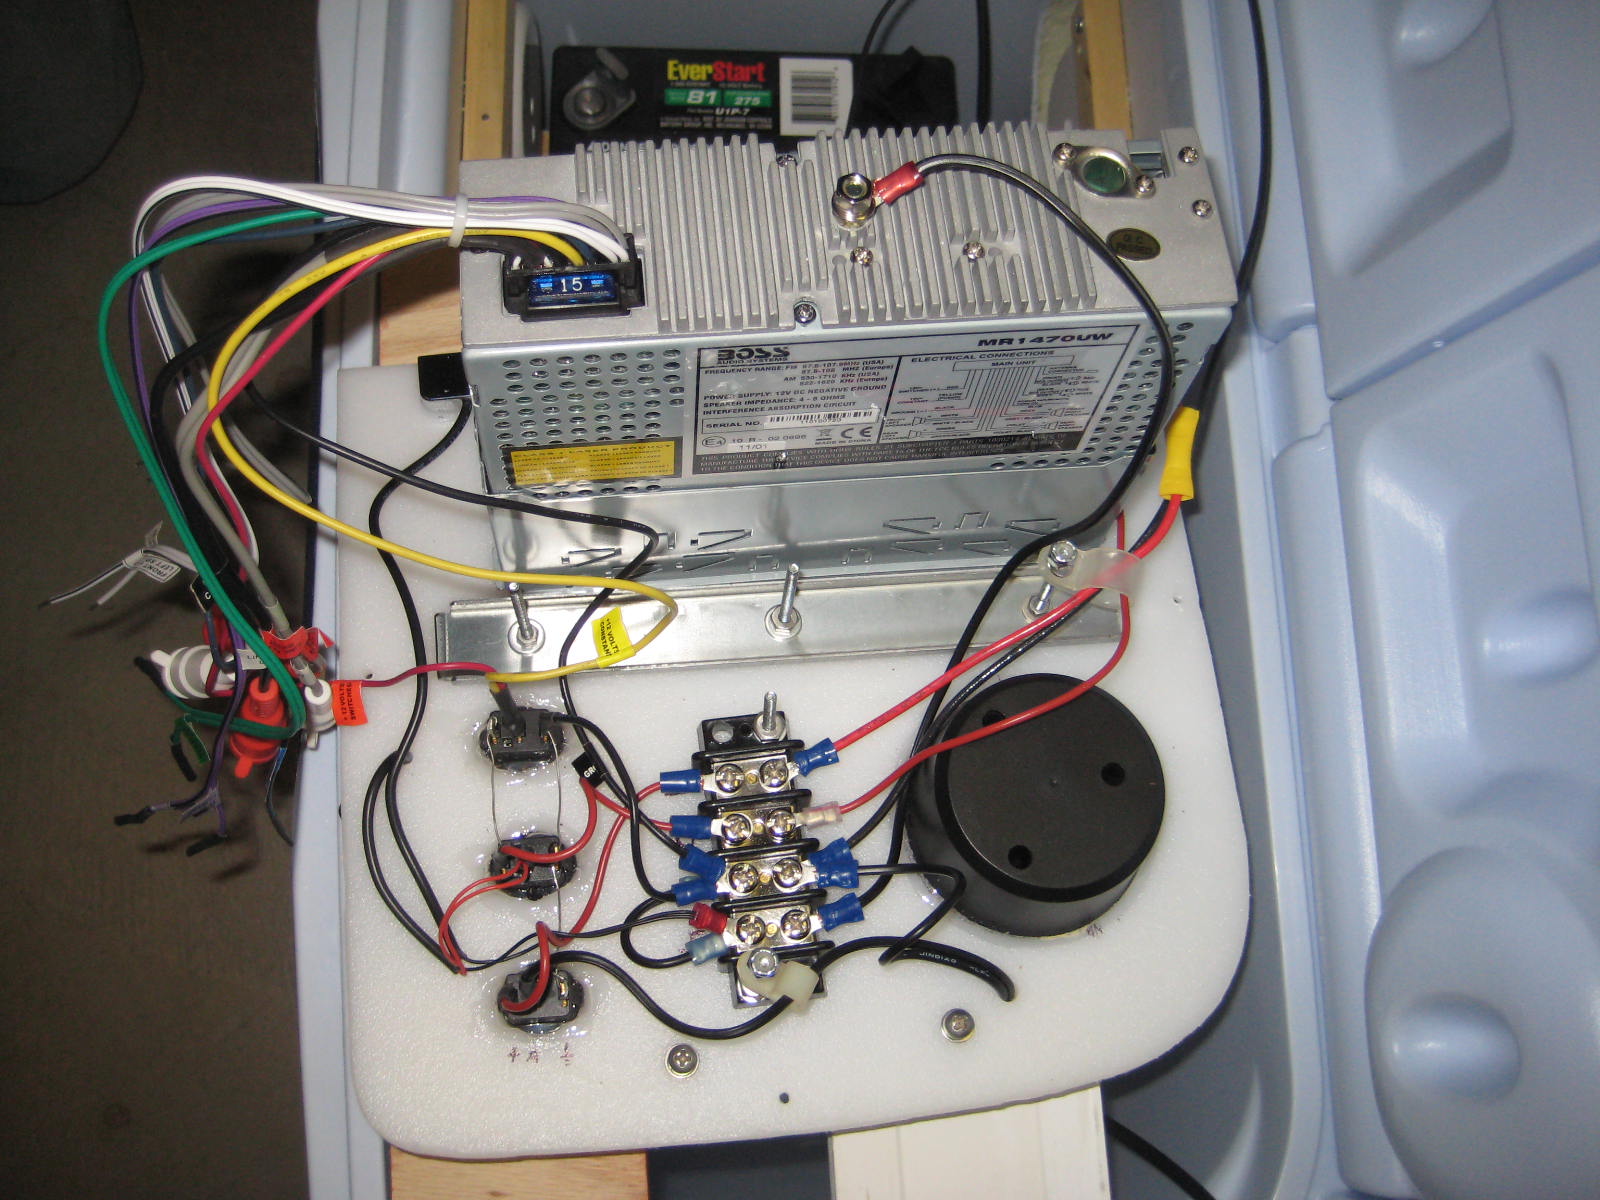
| Fig 3 |


